Made by
M
Momina Fahad, Y9-G3
H
Huda Shahid, Y9-G3
A
U
N
L
O
C
K
M
O
R
E
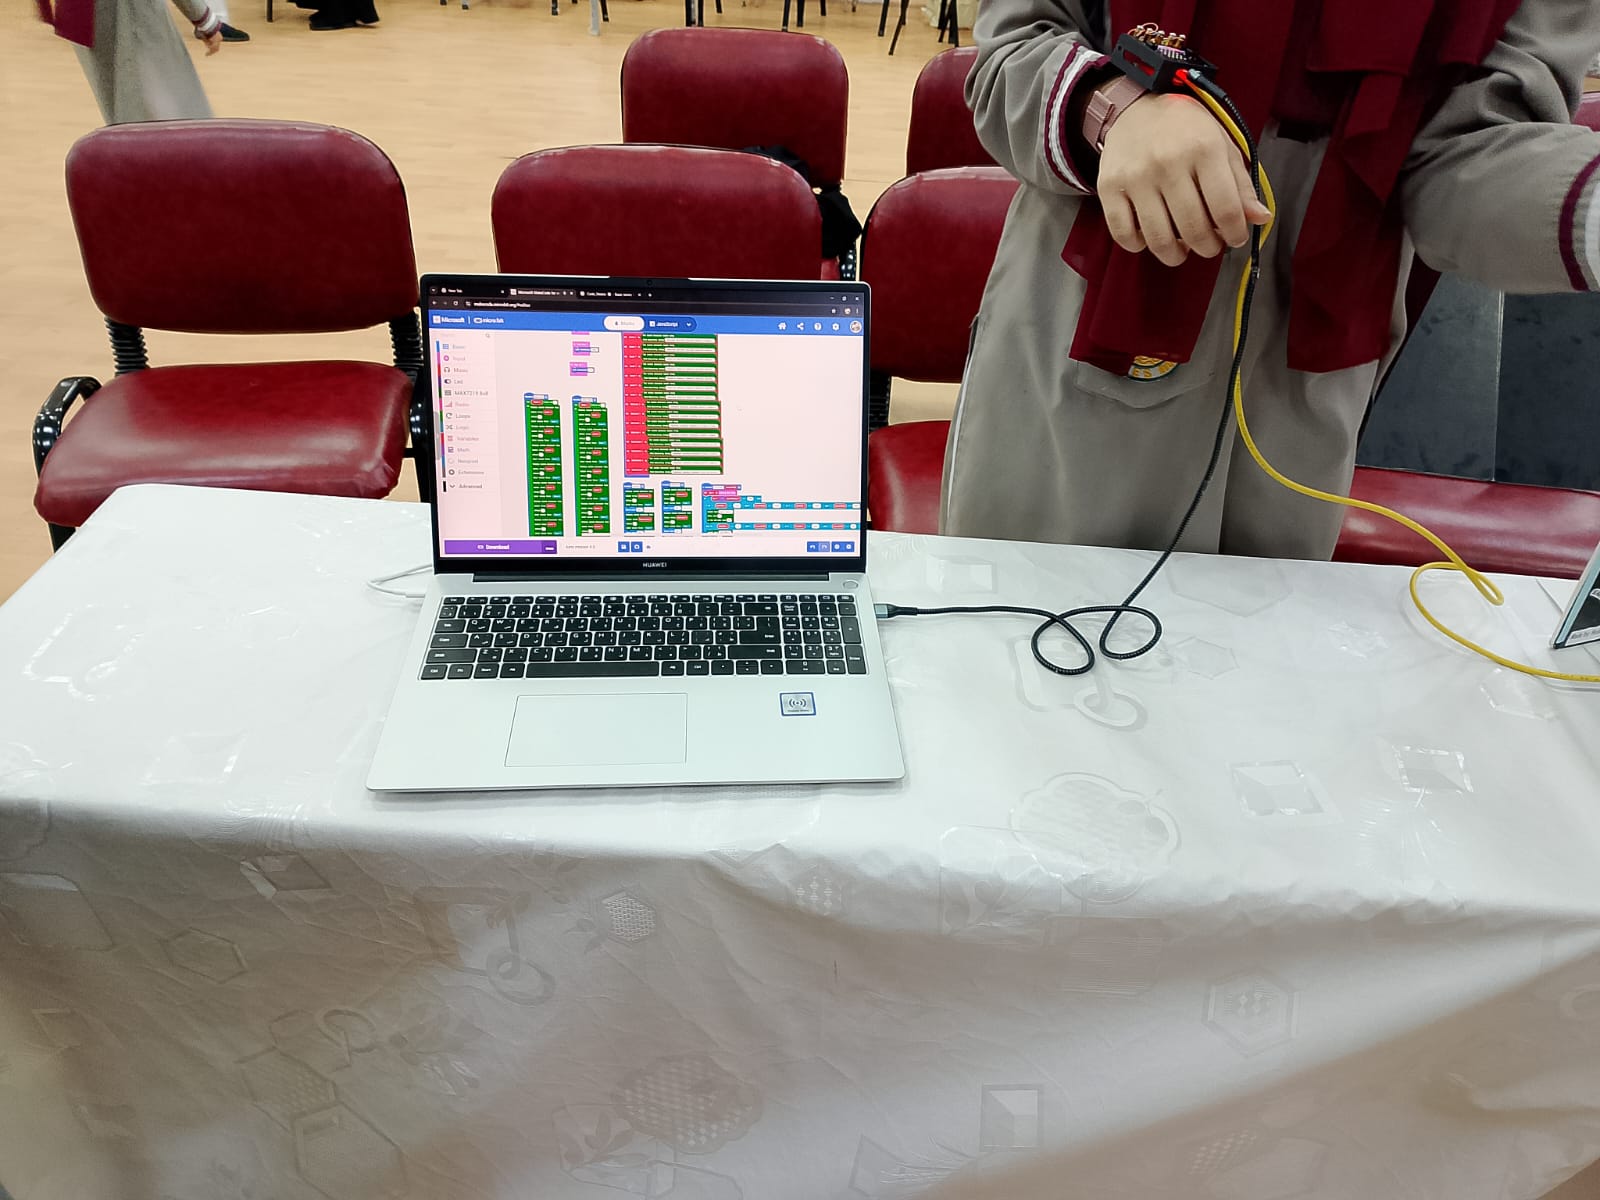
Code Editor: adjust parts of code according to your own preferences.
Debugging: a human-based service which AI has not replaced.
Interactive Simulator: test the circuit before actually deploying it.
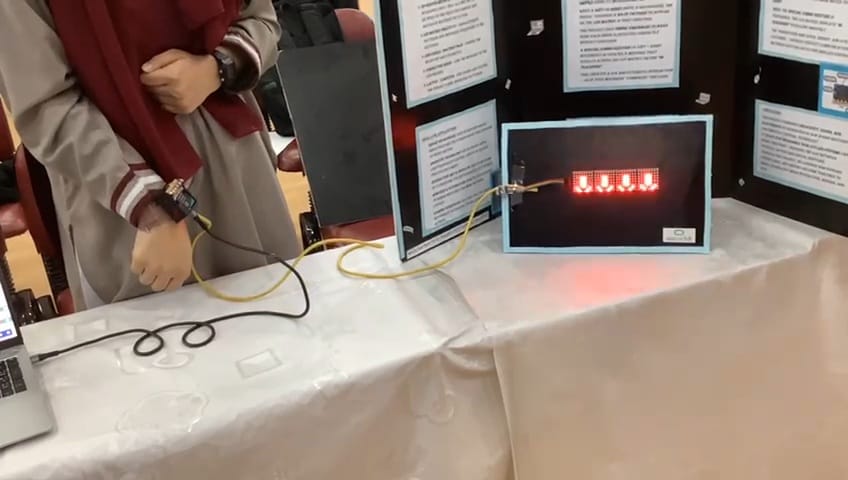
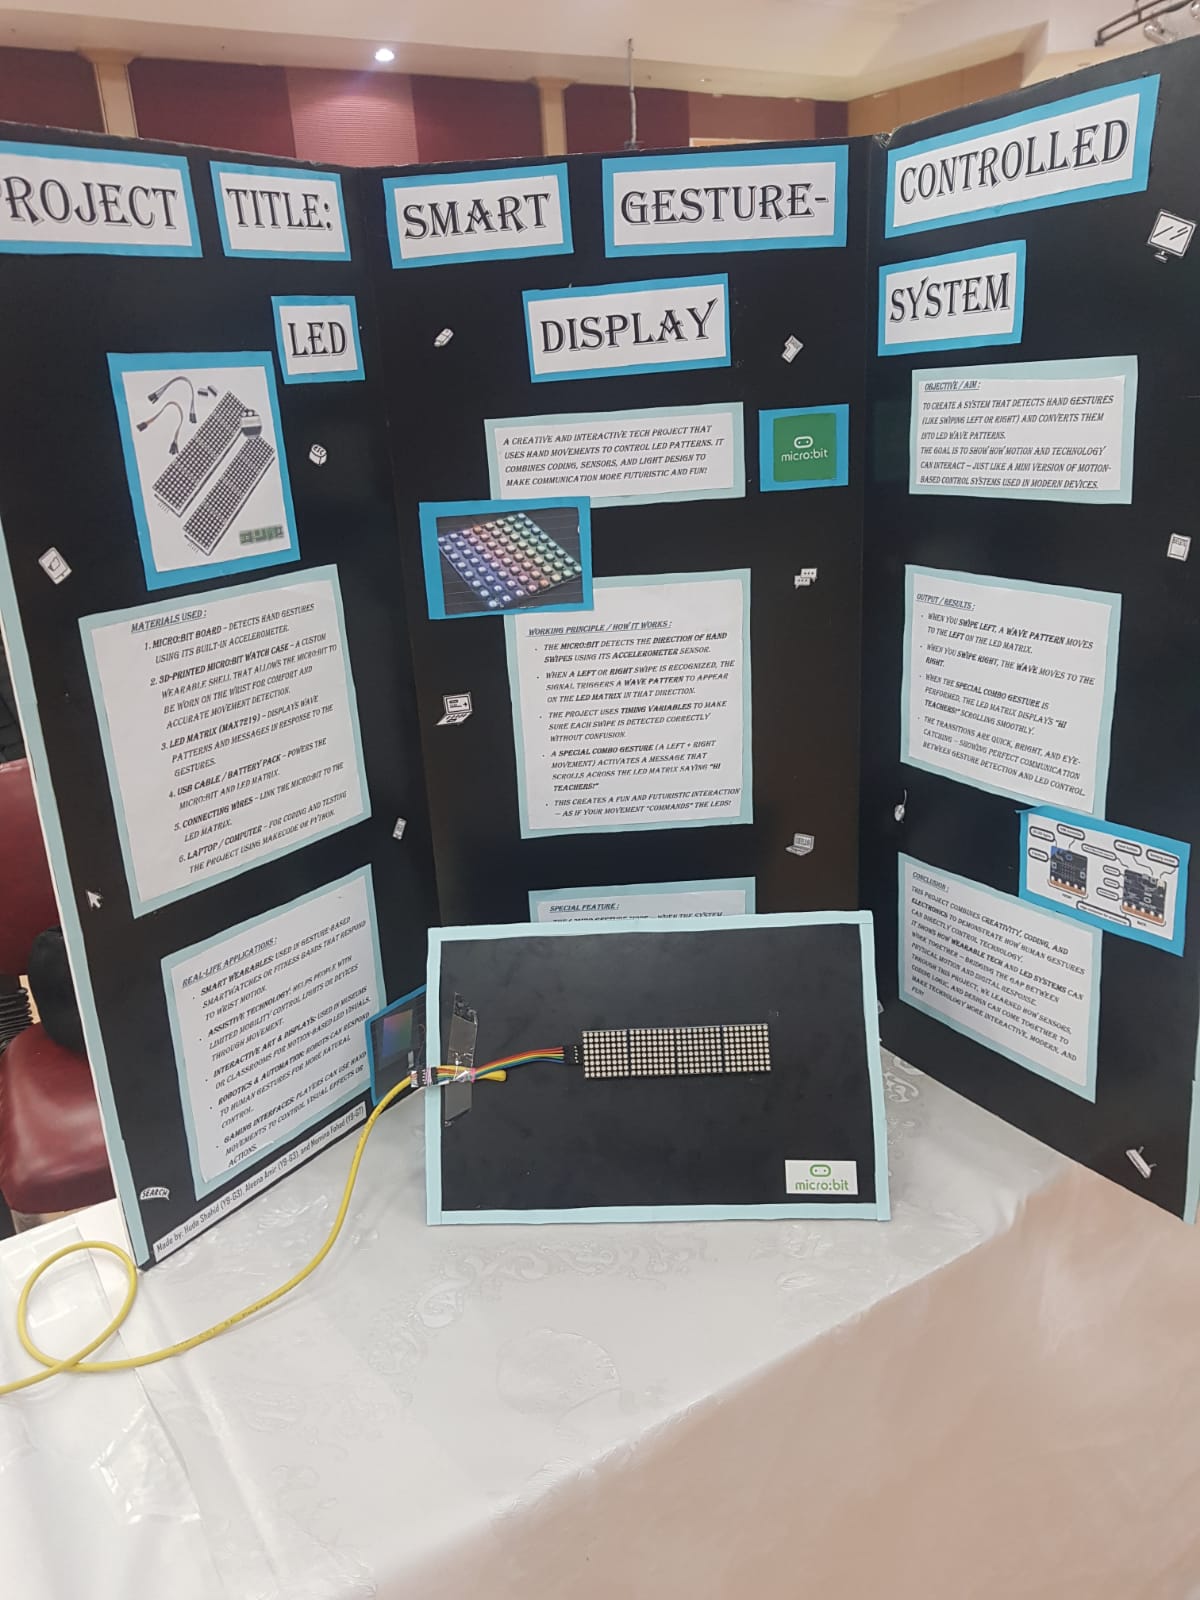
GestureBand is a Microbit-based wearable that detects hand gestures using an accelerometer to display patterns on LED matrices—an interactive communication tool inspired by Big Hero 6s motion-control.
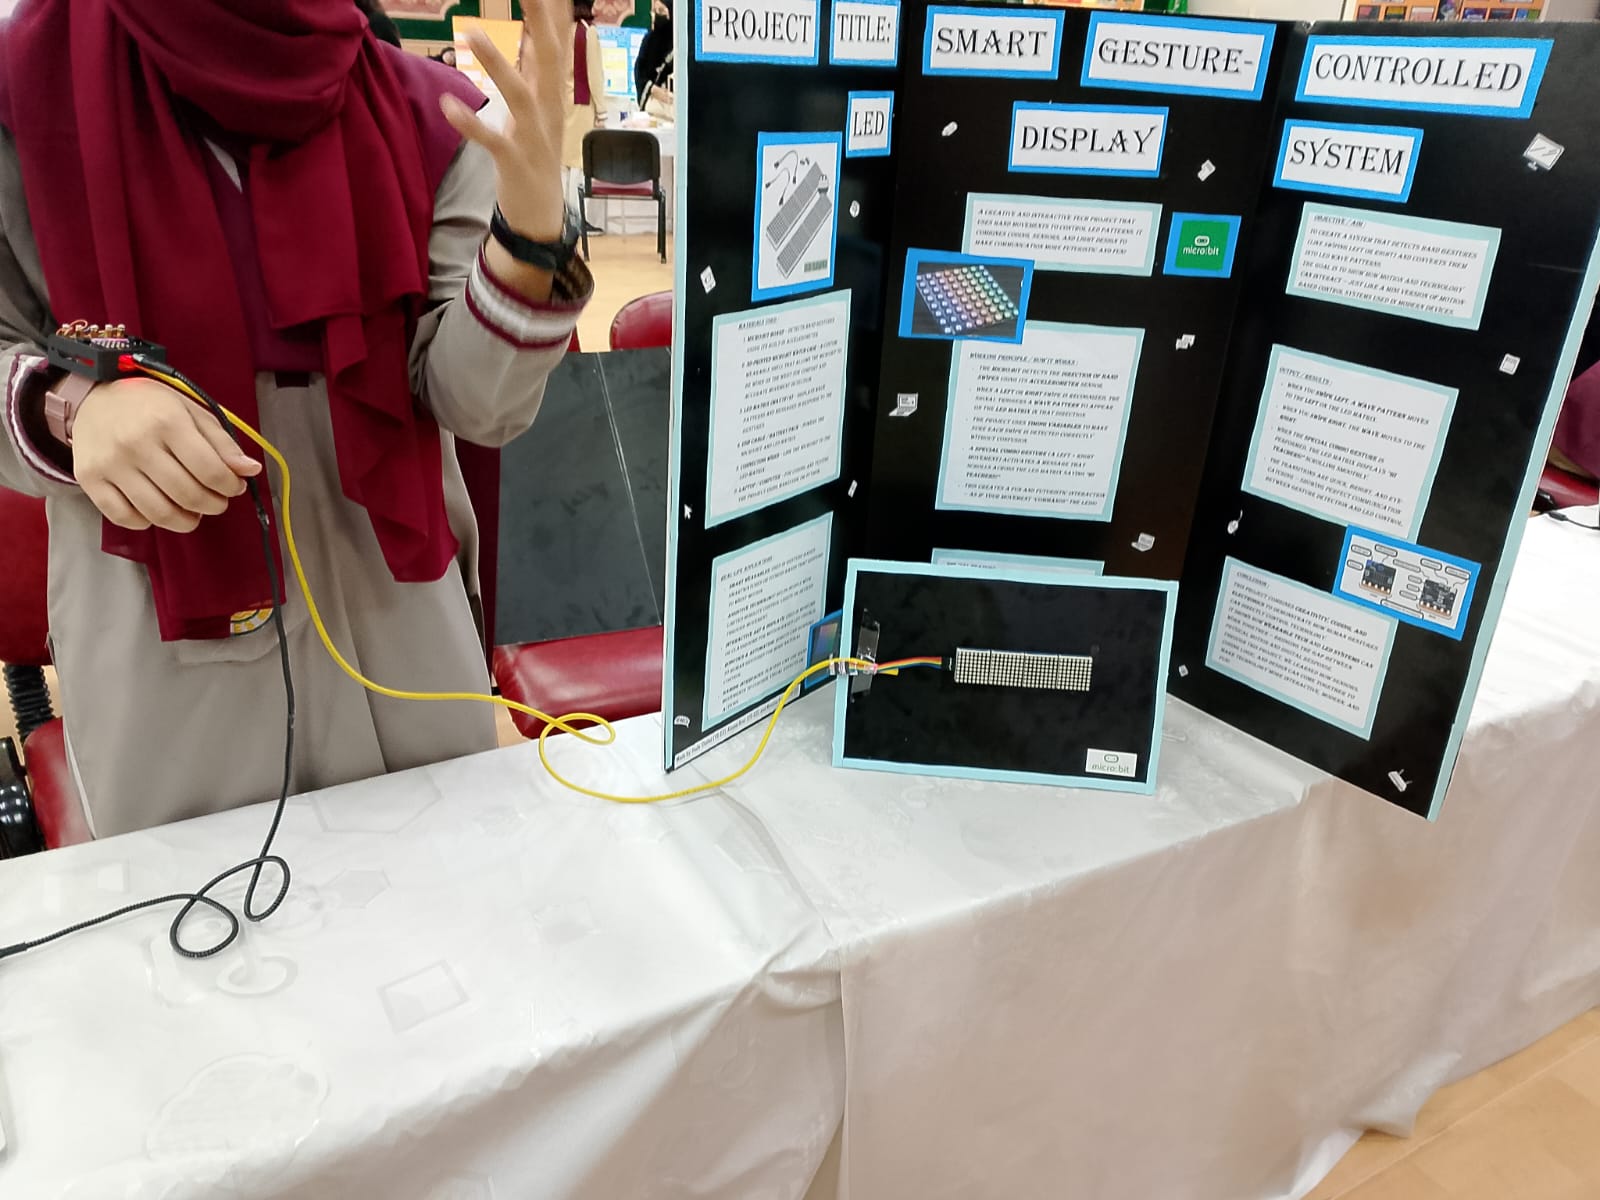
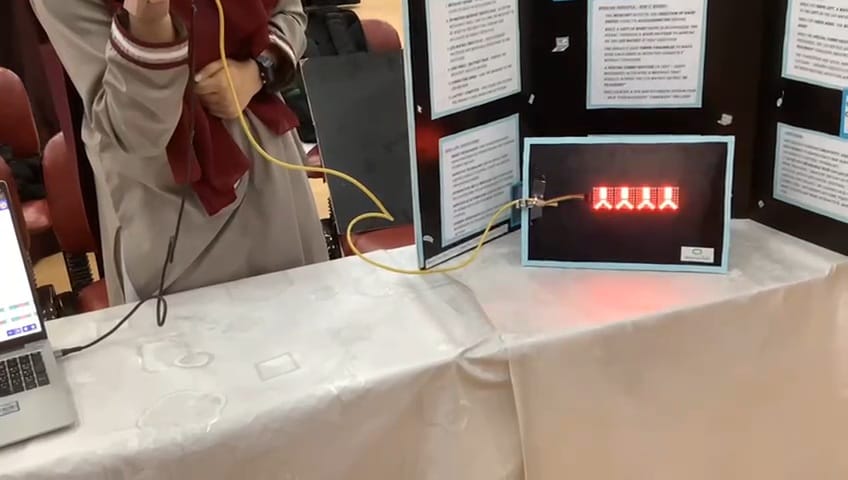
The Microbit wrist holder (“GestureBand”) was 3D-printed to make the device wearable.
The Microbit was fixed into the holder with sensors positioned correctly.
Four LED matrices were arranged on a single board.
A cable connected the Microbit to the matrix board.
Jumper wires connected the cable to each LED matrix.
The Microbit battery pack powered the entire system.
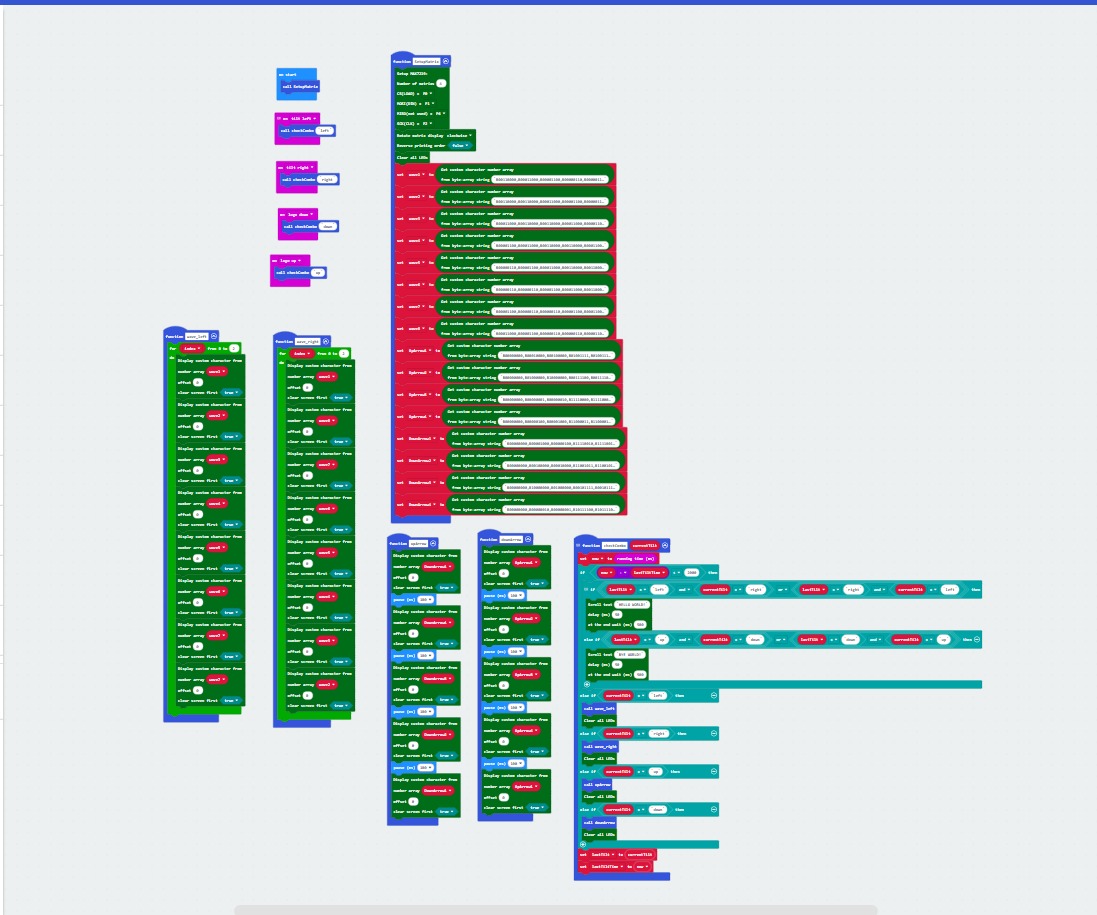
The Microbit was programmed in MakeCode to detect different gestures using the accelerometer.
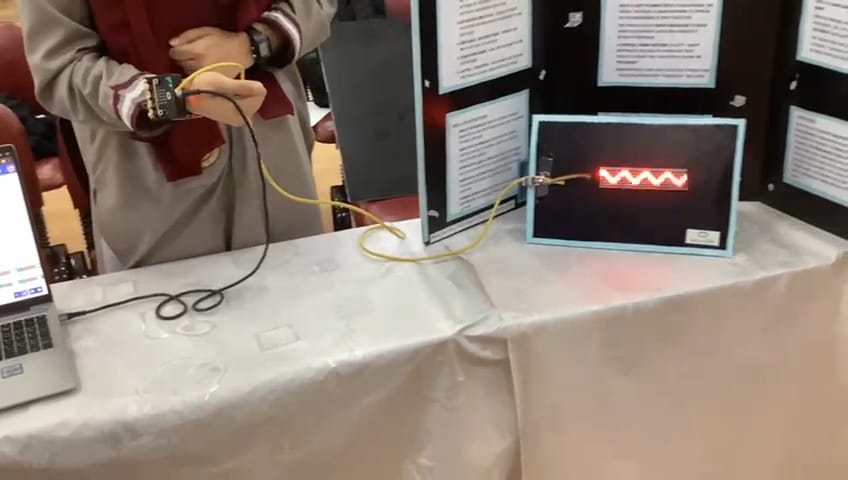
Each gesture triggered a specific pattern — for example, tilt up displayed up arrows, tilt down displayed down arrows, tilt right displayed a right wave, and tilt left displayed left arrows.
Special features were also added to display custom messages.
The code continuously checked for gestures and sent the matching pattern or message to appear across all four LED matrices.
The setup was tested, calibrated, and organized neatly for the final display.
Full code